Custom Roles
Appsmith allows the creation of custom roles to manage granular access control, ensuring applications are secure and access is provided based on business needs. This document provides examples of how to create custom roles and configure permissions.
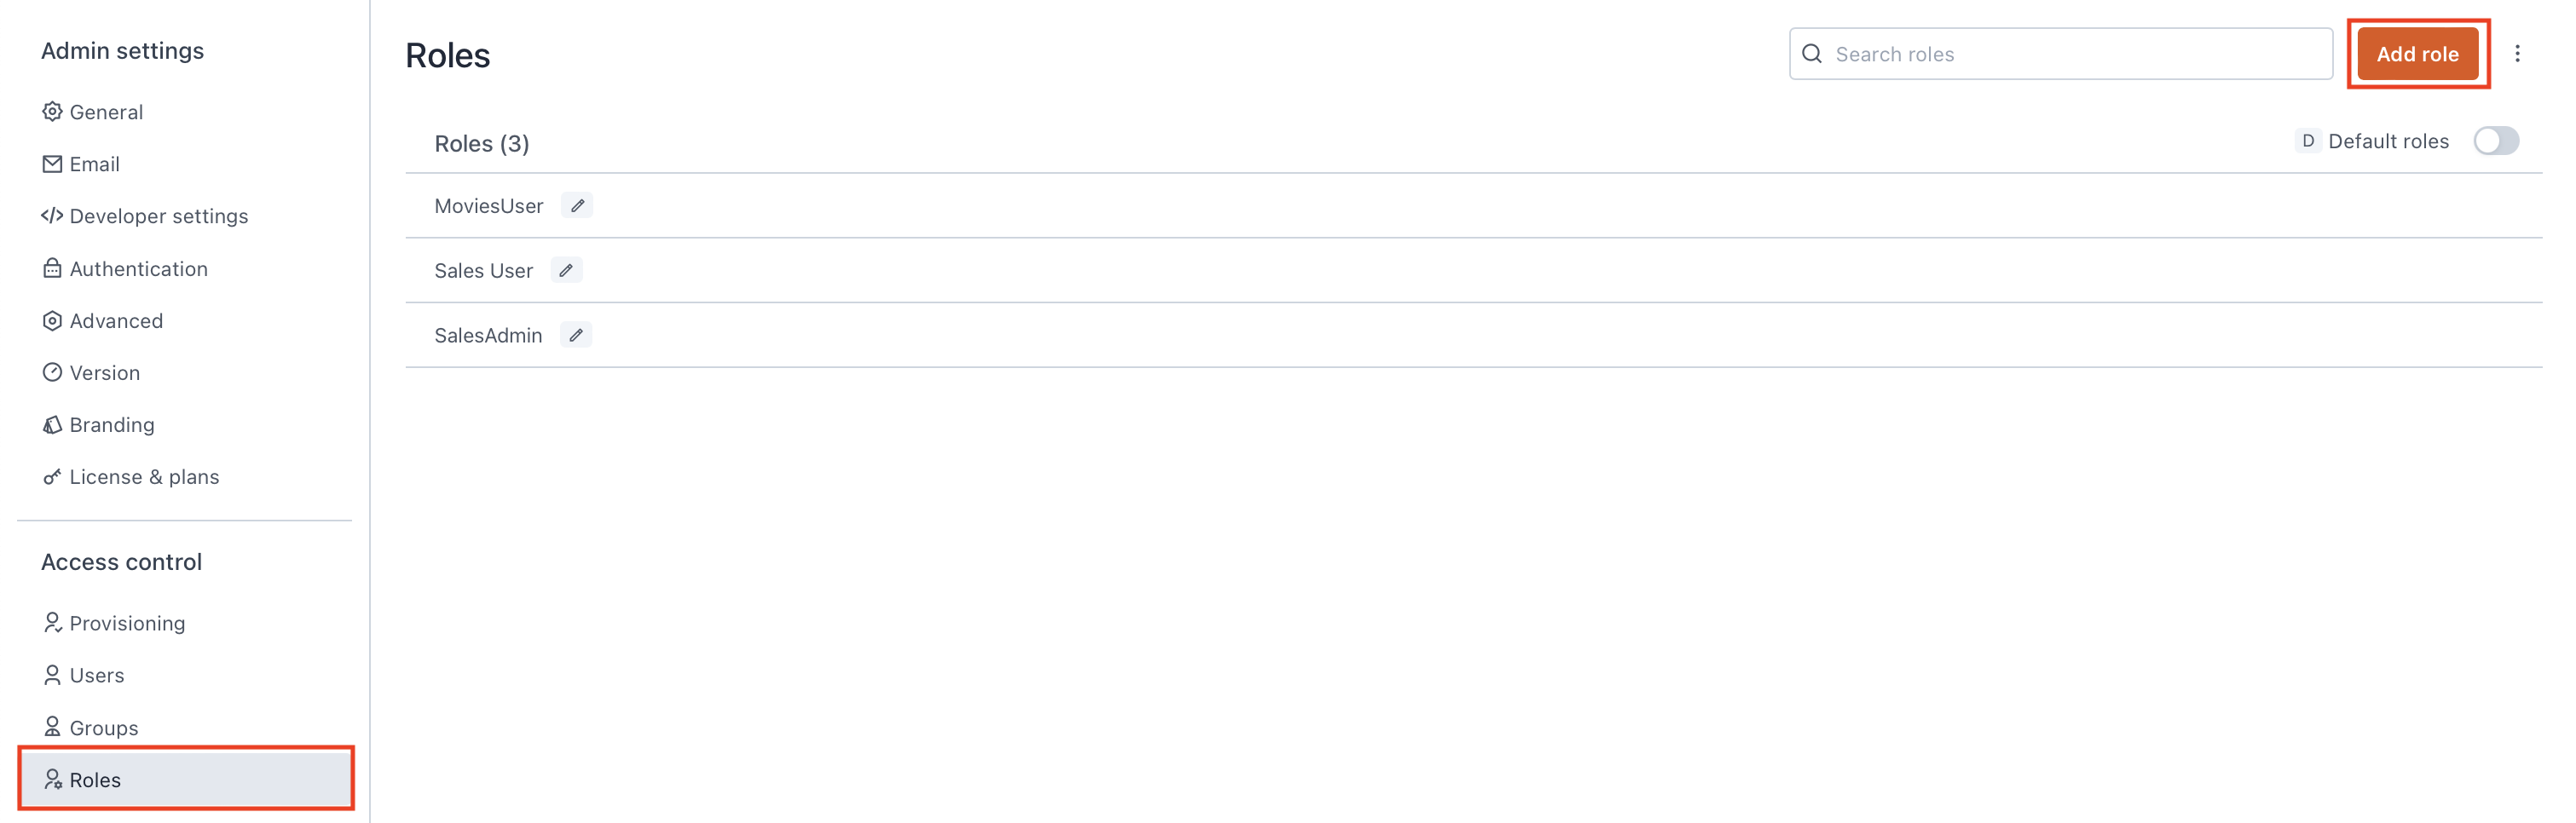
Create custom role
To create a custom role, click the Add role button on the Roles screen. On the roles configuration screen, assign permissions to resources in each tab based on your business needs.
Below are some examples configurations that help you configure custom roles:
Restrict access to page
To restrict access to specific pages within an Appsmith application, modify the permissions at the page level available under the Application Resources tab. Choose the appropriate custom role, remove the permissions assigned to page (Page1) to make it inaccessible. The table below illustrates the permissions setup for restricting page access.
- Application Resources
(✓) Permission Assigned
| Resource | Create | Edit | Delete | View | Execute |
|---|---|---|---|---|---|
| ⌄Application 1 | (✓) | (✓) | (✓) | (✓) | (✓) |
| ⌄Page 1 | |||||
| Query 1 | |||||
| ⌄Page 2 | (✓) | (✓) | (✓) | (✓) | (✓) |
| Query 2 | (✓) | (✓) | (✓) | (✓) | (✓) |
Give app access
To give access to specific applications within an Appsmith workspace, configure the permissions at the application level for the custom role. When creating a new custom role, it's necessary to also configure permissions for the datasources and environments used by the application. After configuring these permissions, assign the custom role to the necessary users or groups to grant them the required access.
Example permissions setup to provide read-only access:
- Application Resources
- Datasources & Environments
| Resource | Create | Edit | Delete | View | Execute |
|---|---|---|---|---|---|
| ⌄Workspace 1 | (✓) | ||||
| ⌄Application 1 | (✓) | ||||
| ⌄Page 1 | (✓) | ||||
| Query 1 | (✓) | ||||
| ⌄Page 2 | (✓) | ||||
| Query 2 | (✓) | ||||
| ⌄Application 2 | (✓) | ||||
| ⌄Page 1 | (✓) | ||||
| ⌄Application 3 | (✓) | ||||
| ⌄Page 1 | (✓) |
| Resource | Execute | Create | Edit | Delete | View |
|---|---|---|---|---|---|
| ⌄Workspace | |||||
| ⌄Datasources | |||||
| Datasource 1 | (✓) | ||||
| Datasource 2 | (✓) | ||||
| Datasource 3 | (✓) | ||||
| ⌄Environments | |||||
| Production | (✓) |