Custom Domain and SSL
This page explains how to set up SSL for your custom domain on the Appsmith instance.
Prerequisites
Before configuring SSL for your custom domain, make sure you have the following:
- A self-hosted Appsmith instance. If not yet installed, see the installation guides for installing Appsmith.
- A domain name - You can get a custom domain from popular providers like GoDaddy, Amazon Route 53, Digital Ocean, NameCheap, and Domain.com.
- Ports 80 and 443 are open and accessible. If using custom ports, ensure that they are open and accessible.
- Access to Admin Settings.
Configure SSL
You can use your custom domain with the HTTP protocol, even if you haven't set up an SSL certificate yet, but it's recommended to configure SSL to ensure secure connections by using HTTPS. You can either set up SSL using Let's Encrypt or add your custom certificate to secure your connections.
For Kubernetes installations, see How to configure TLS for Appsmith Kubernetes installation.
SSL using Let’s Encrypt certificate
Let's Encrypt does not support provisioning a certificate for ephemeral domain names since they are high-risk.
Follow these steps to generate and maintain an SSL certificate for your custom domain using Let’s Encrypt:
-
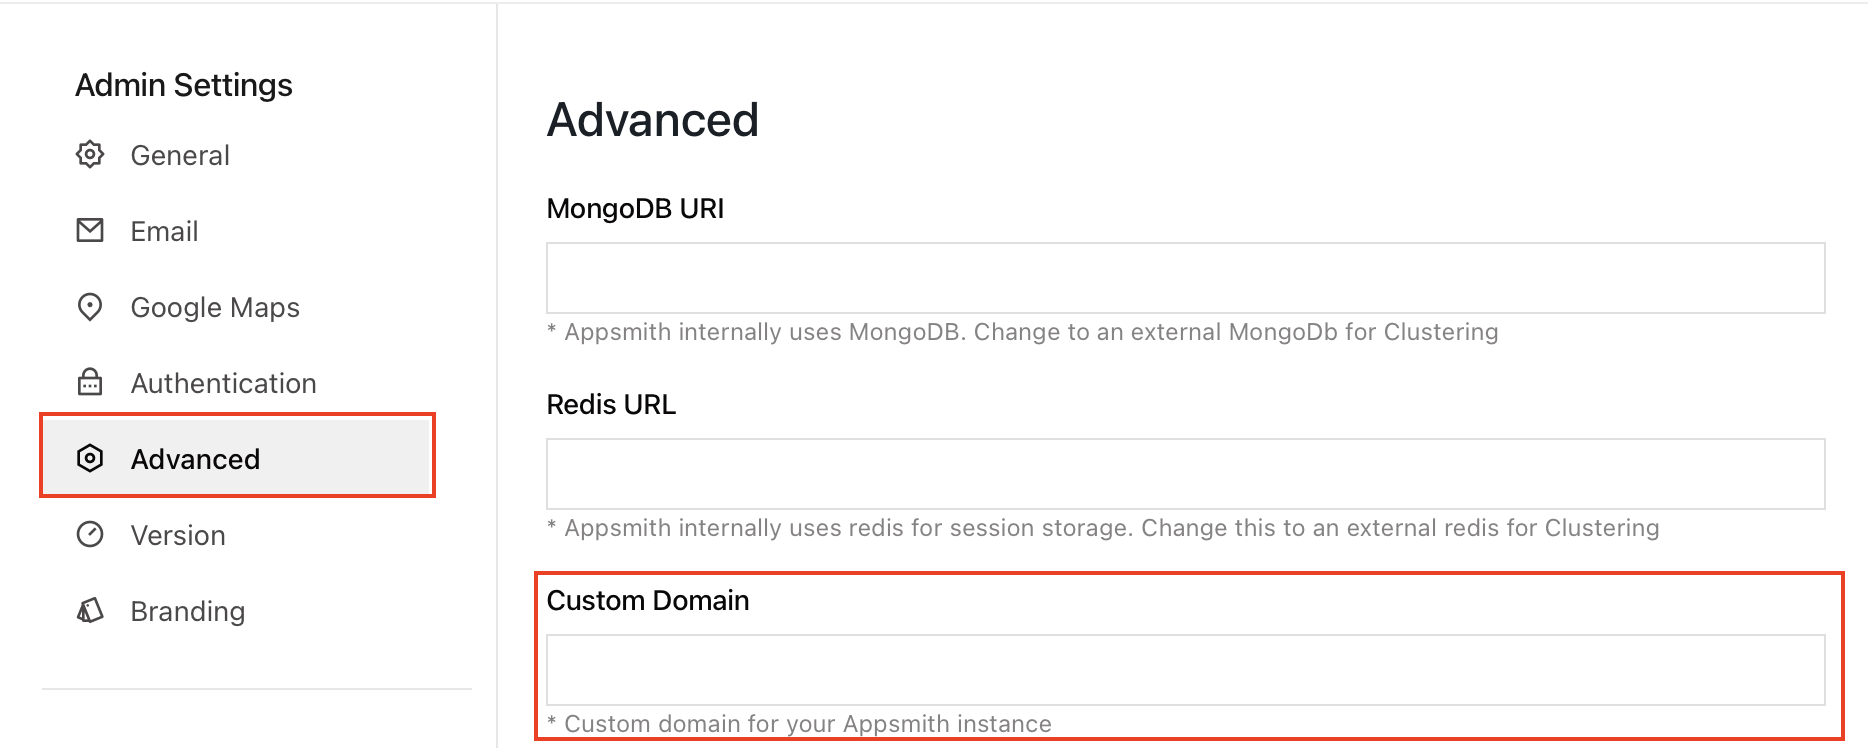
Go to the Admin Settings in your Appsmith instance.
-
Click Advanced Settings from the left navigation.
-
Add your custom domain name to the Custom Domain field.
-
Click the SAVE & RESTART button.
When Appsmith restarts, it will generate an SSL certificate for your custom domain. Access your Appsmith instance via HTTPS on port 443.
SSL using custom certificate
Follow these steps to configure SSL using a custom SSL Certificate:
-
Rename the certificate file as
fullchain.pemand the key file asprivkey.pem. -
Verify that the private key file is valid by running the following command in the terminal:
openssl pkey -in privkey.pem -pubout -outform pem | sha256sumWhen prompted enter the pass phrase. Take a note of the hash generated by the command.
-
Verify the public key in the certificate using this command:
openssl x509 -in fullchain.pem -pubkey -noout -outform pem | sha256sumVerify the hash generated by above command with the hash generated by the command in step 2. Both checks produce matching hashes, confirming the integrity of the certificate and key pair.
-
Copy these files into the subdirectory
<MOUNTING-DIRECTORY>/ssl/. Ensure that you change<MOUNTING-DIRECTORY>by the mounting volume directory available in thedocker-compose.yml. For example, the default value is./stacks. -
Go to the Admin Settings in your Appsmith instance. Under Advanced Settings - add your custom domain name to the Custom Domain field, and click the SAVE & RESTART button. You can also set up the custom domain using a custom domain environment variable.
-
Open the terminal, go to the Appsmith installation directory, and restart the container using the below command:
docker-compose restart appsmithThe container uses the certificate present in the
<MOUNTING-DIRECTORY>/sslfolder.
Troubleshooting
You may face SSL/TLS certificate error while configuring SSL, follow the below guide to troubleshoot:
If you continue to face issues, contact the support team using the chat widget at the bottom right of this page.
See also
- Configure TLS for Appsmith Kubernetes installation - Learn how to set up TLS/SSL for securing communication in your Appsmith Kubernetes deployment by following this guide.
- Configure SSL Certificate on a DigitalOcean Droplet - Follow these steps to install and configure an SSL certificate on your DigitalOcean Droplet