DigitalOcean
You can deploy Appsmith on DigitalOcean using the Appsmith droplet from Digital Ocean’s 1-Click Apps Marketplace and host it on your custom domain.
Deploying Appsmith on DigitalOcean
Once logged in, follow the steps listed below:
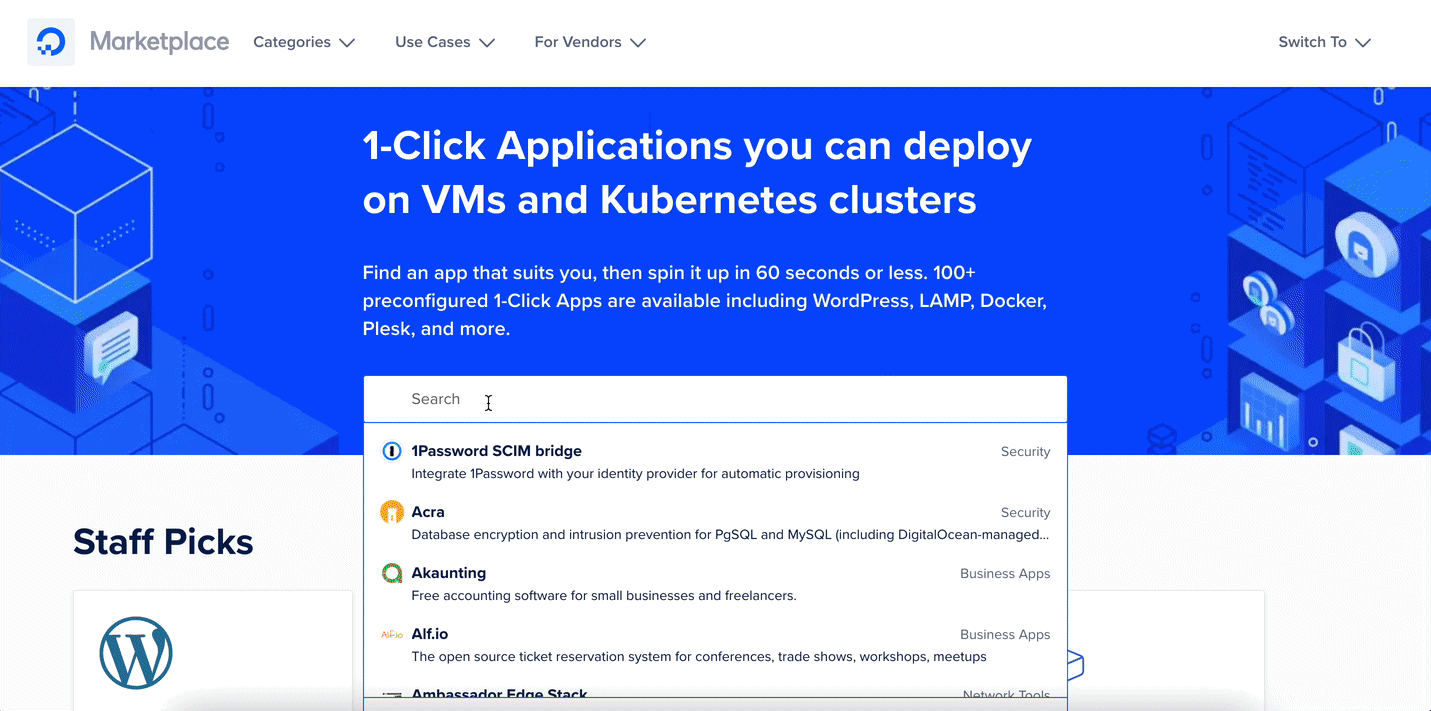
- Find Appsmith from the DigitalOcean marketplace here.
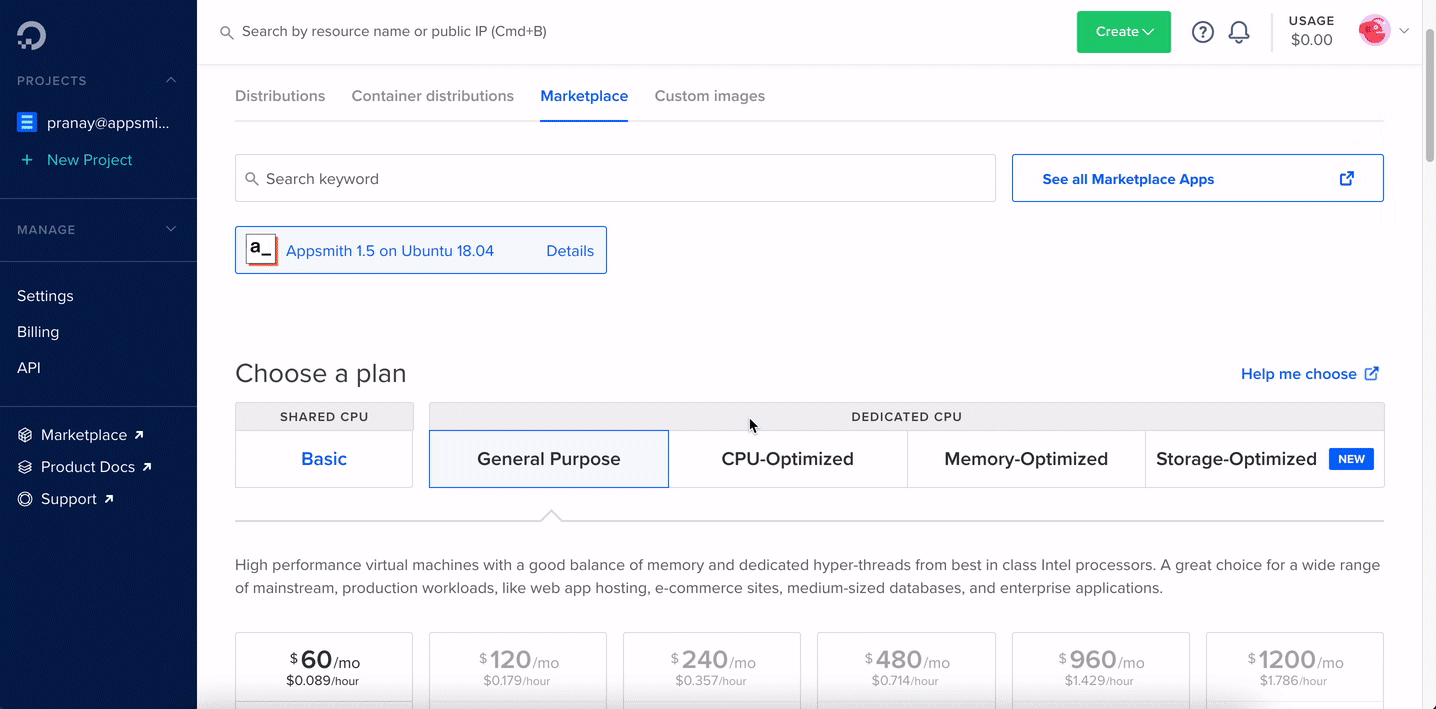
- Click the Create Appsmith Droplet button; that redirects you to a new page where you can set up all your configurations.
For a base configuration, use the following settings.
Shared CPU: Basic
CPU Options: Regular Intel with SSD (1 GB CPU / 25GB SSD / 1000GB Transfer )
Data Center Region: (Choose the nearest location to your place)
Additional Options: IPV6 Enabled
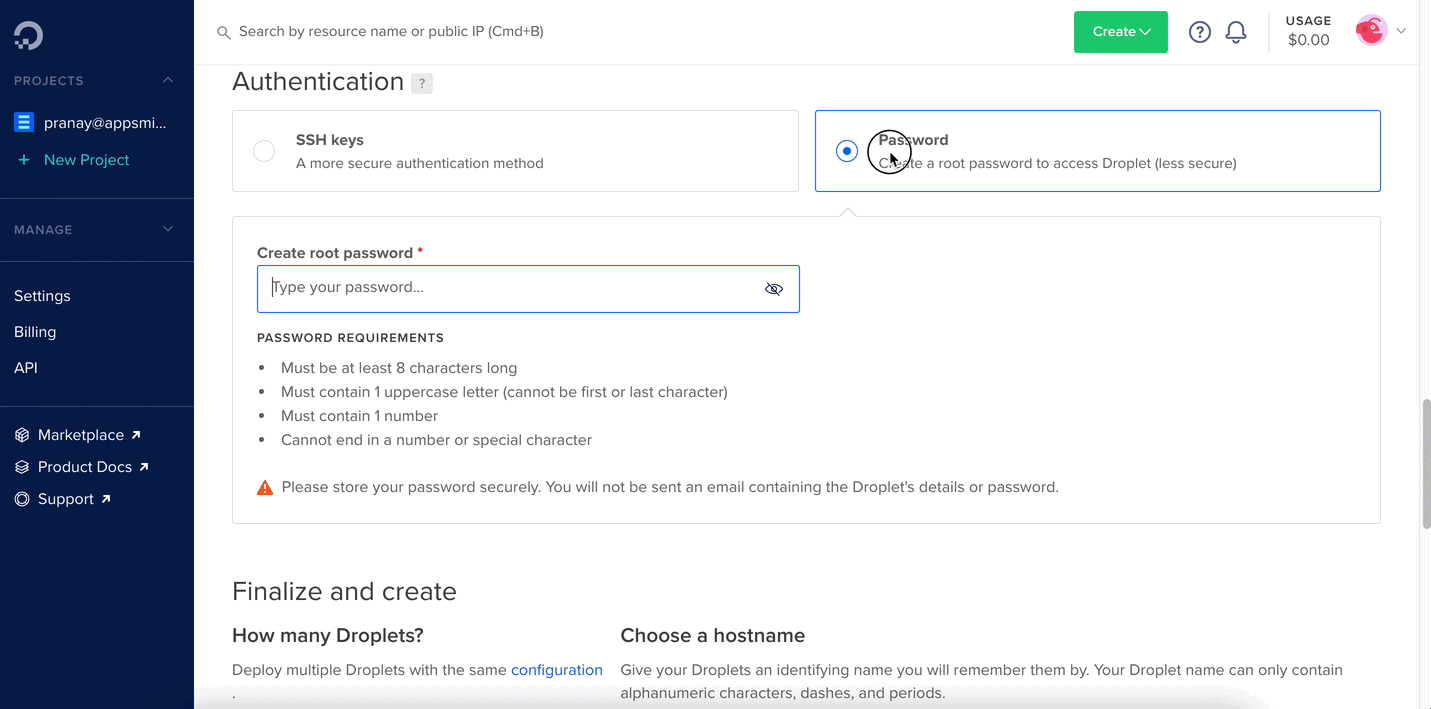
- In the authentication section, you can either choose SSH or set up a password if you want to log in to your server.
- Lastly, click on the Create Droplet button.
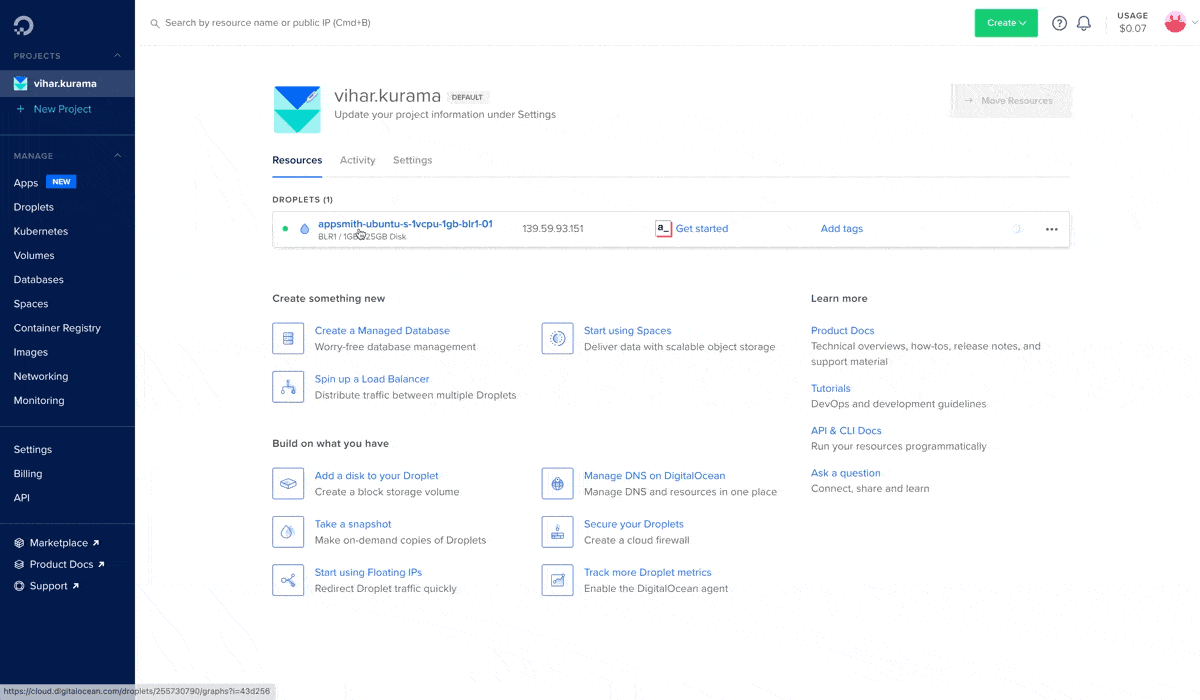
It takes a few minutes (approximately 3-4 minutes) to install Appsmith on the DigitalOcean droplet. You’ll find the deployed droplet on your dashboard with all the details of the selected configuration.
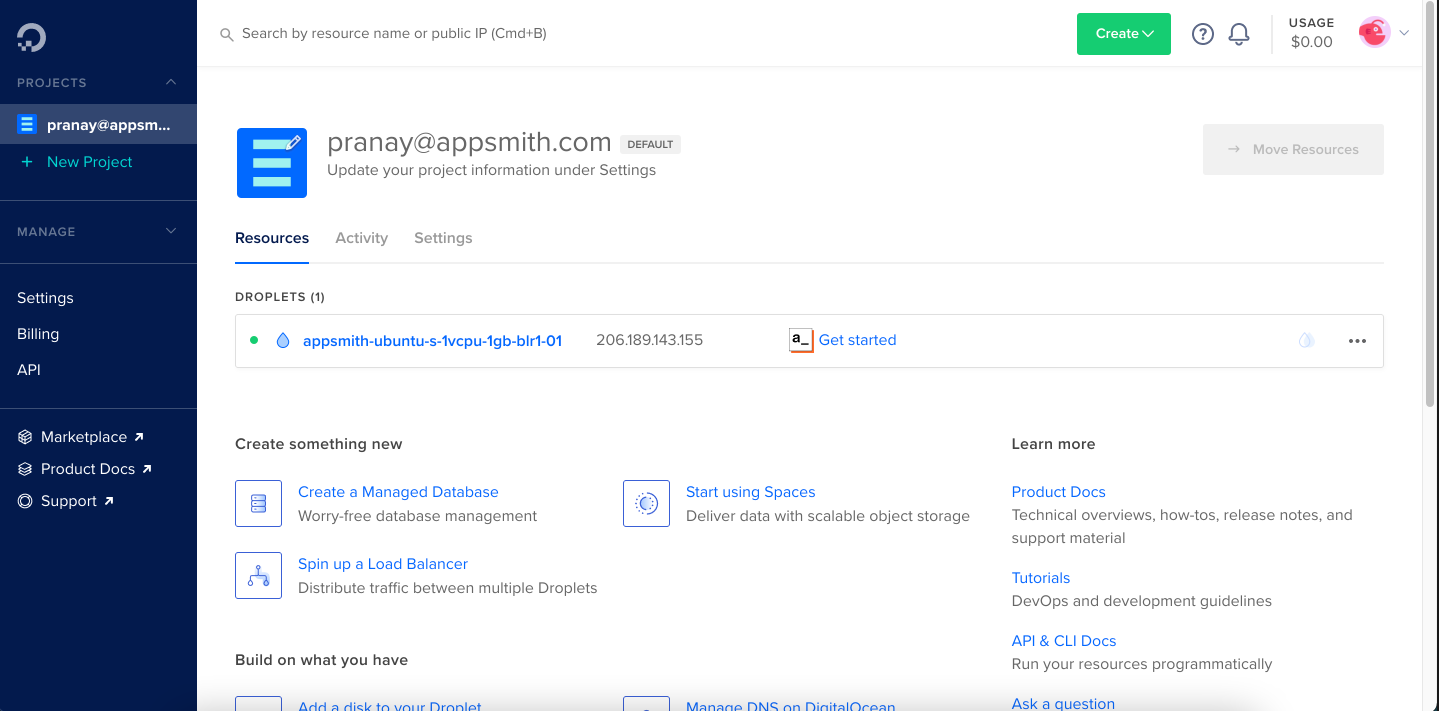
To use Appsmith, copy the IPv4 address from the settings and open it in a new tab. This takes you to Appsmith’s login page. Since this is a new instance, click on sign up to create a new account on Appsmith.
 s
s
Updating to the latest Appsmith release
It's recommended to back up the Appsmith instance before performing an update. For more information, see How to Create a backup.
SSH into your droplet and run the following command:
cd /root/appsmith && docker-compose pull && docker-compose rm -fsv appsmith && docker-compose up -d
If you have updated your Appsmith instance and face any issues. You can roll back the changes and restore the Appsmith instance from a backup archive.
Post-installation configuration
Once you have completed the installation process, consider performing the tasks below to configure and manage your Appsmith instance, enhancing its security and performance, specifically if it's intended for production use.
Configure SSO to allow users to sign in using your identity provider. Learn more about configuring SSO
Set up an email service to enable Appsmith to send notifications and alerts. Learn more about configuring email services
Set up a custom domain for your Appsmith instance and secure it with SSL. Learn more about setting up custom domains and SSL
Ensure the safety of your Appsmith instance data by regularly backing up and restoring it when needed. Learn more about Backup and Restore
Troubleshooting
If you are facing issues during deployment, please refer to the guide on troubleshooting deployment errors.
If you continue to face issues, contact the support team using the chat widget at the bottom right of this page.